Features:
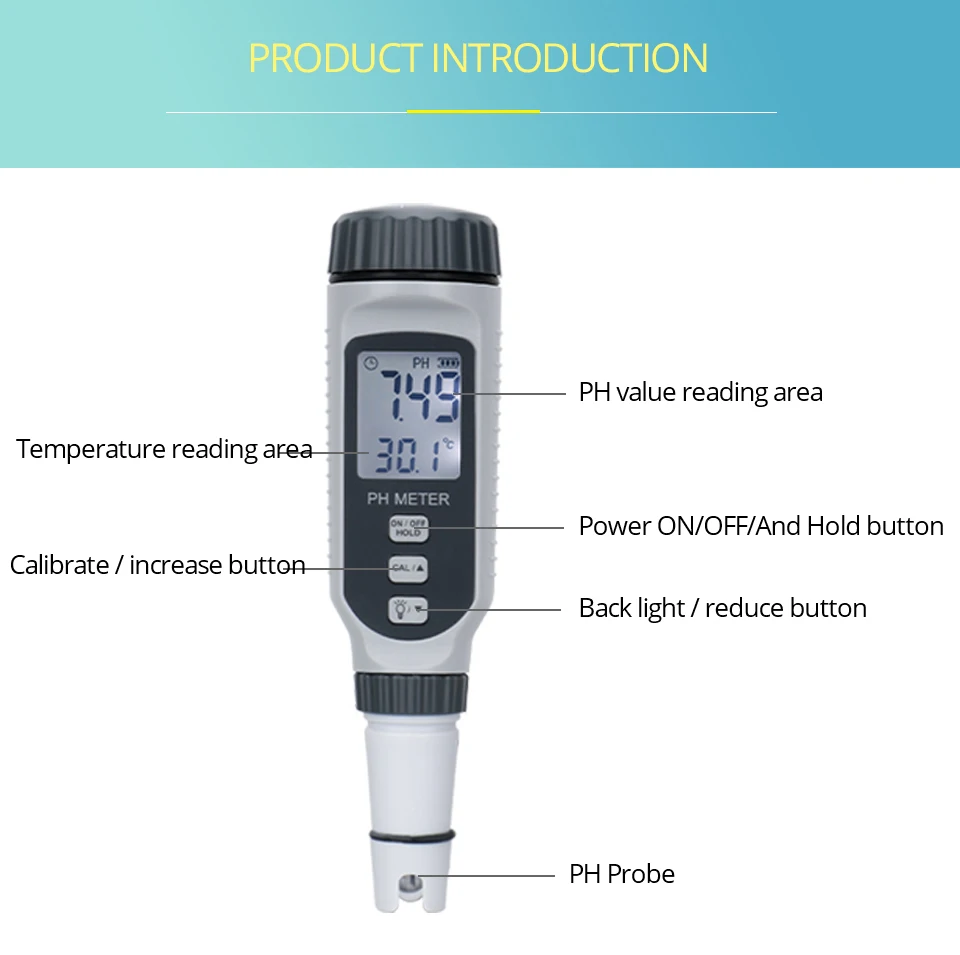
1. Test the pH level and temperature of solution/water with data hold function.
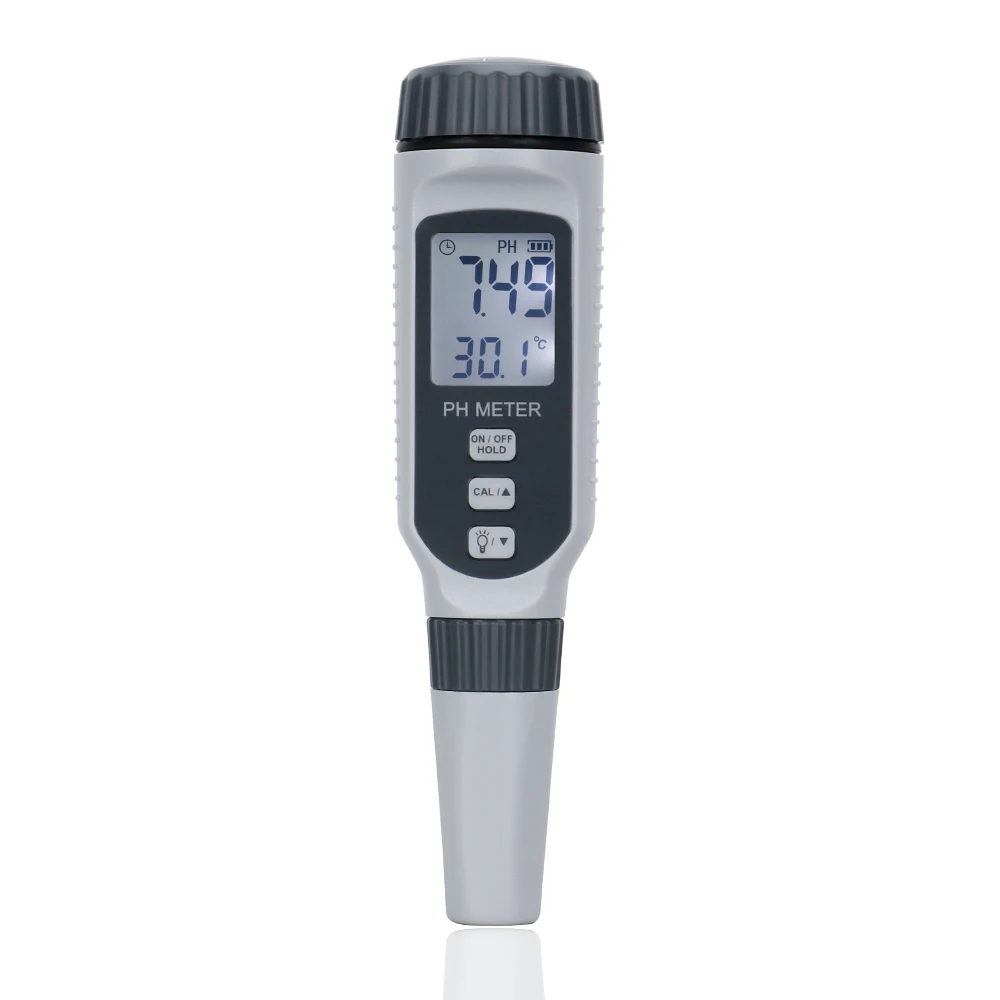
2. Pocket size, lightweight and portable with switchable backlight & large LCD display for clear reading.
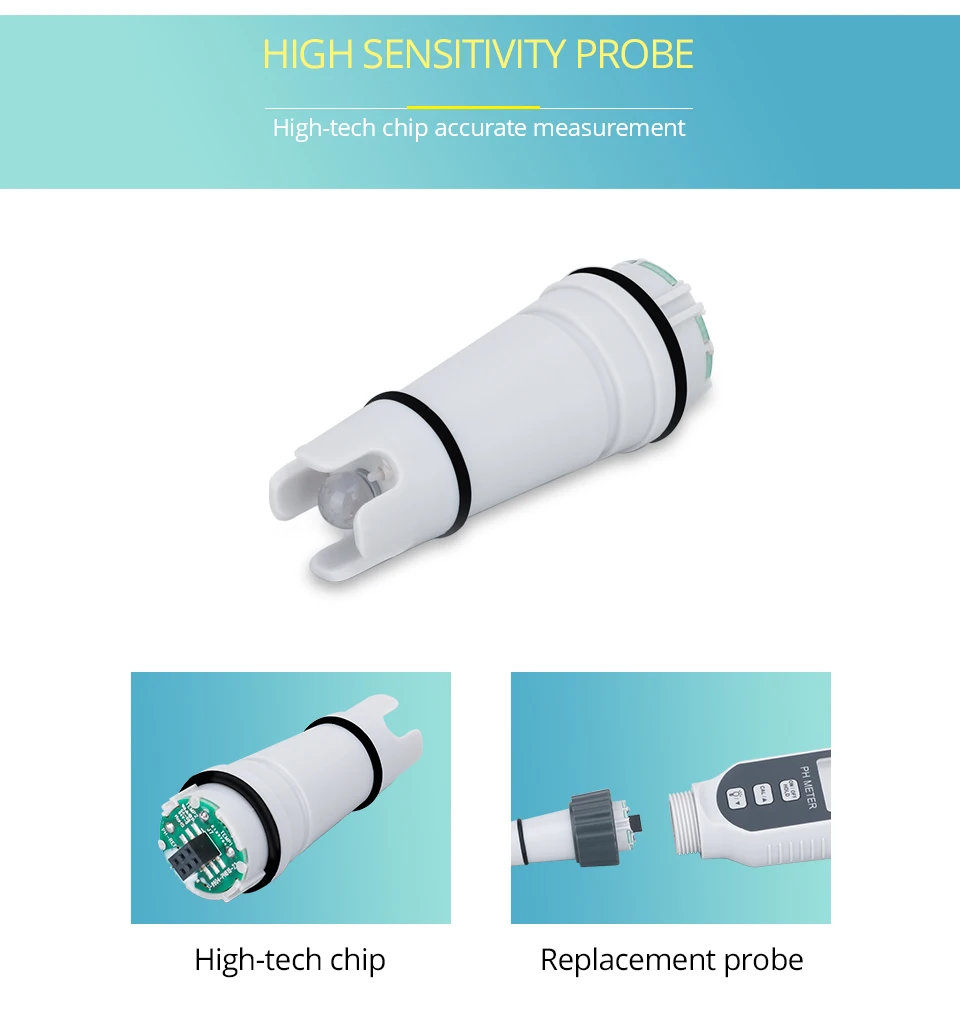
3. Replaceable pH sensor probe - The electrode probe can be replaced with insert type design for convenient and fast replacement.
4. ATC function (automatic temperature compensation), automatic calibration and IP65 fully waterproof design.
5. Apply in water sources, soil-free growing, aquarium, hydroponics, laboratory, spas, swimming pools and other water systems.
Specification
| Specification | ||
|
PH measuring range |
|
0.00-14.00pH |
|
PH basic measurement error |
±0.05pH |
|
|
Instrument repeatability |
±0.03 |
|
|
Solvent temperature compensation range |
0-70°C |
|
|
Repeatability |
±0.01 |
|
|
Solvent temperature under test |
0-60°C |
|
|
Power supply |
1.5V AAA batteries*2pcs(not include) |
|
|
Display |
Large LCD segment type display |
|
|
Working temperature range |
0-50°C |
|
|
Working humidity range |
≤80%RH |
|
|
Package |
1*PH meter 1*User's guide 2*PH4.00,PH6.86,PH9.18 calibration power 1*Box |
|
| How to calibrate the device correctly | |
|
|
one bag powder dissolved in 250ml pure water,when you need to do the calibrate,take some solution,the rest of the solution can Sealed preservation 1 month |
|
Step1 |
1. Turn on the machine, put the PH818 in pure water, clean it and wipe it with a cloth. Press and hold the calibration button, put the machine into the debugged PH4.00 solution, stir it for a few seconds, and let it stand for a few seconds until the machine screen appears. "PR5” |
|
Step 2 |
2. When the machine number becomes 6.86, take out the machine, clean it in pure water, wipe it with a cloth, put it into the debugged PH6.86 solution, stir it for a few seconds, and let it stand for a few seconds until the machine screen appears “PR5” |
|
Step 3 |
3. When the machine number becomes 9.18, take out the machine, clean it in pure water, wipe it with a cloth, put it into the debugged PH9.18 solution, stir it for a few seconds, and let it stand for a few seconds until the machine screen appears “PR5” |
|
Step 4 |
4. The machine is restored to the state when it was turned on, and the calibration is completed. |


